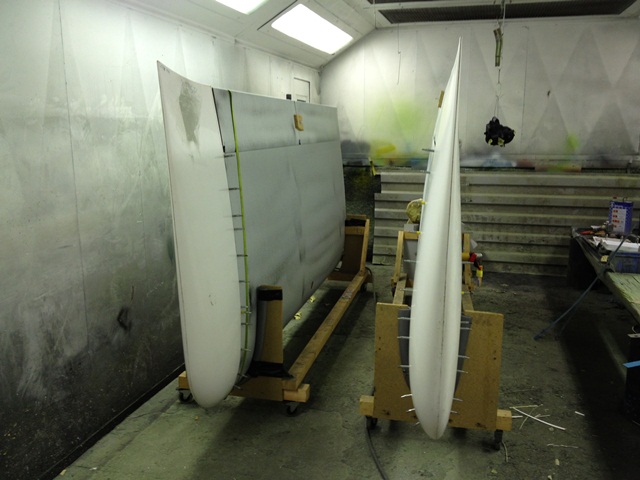
30/12/2012 - Wing Tip
installation
I have
been looking forward to this day, but also a little nervous of
fitting them.
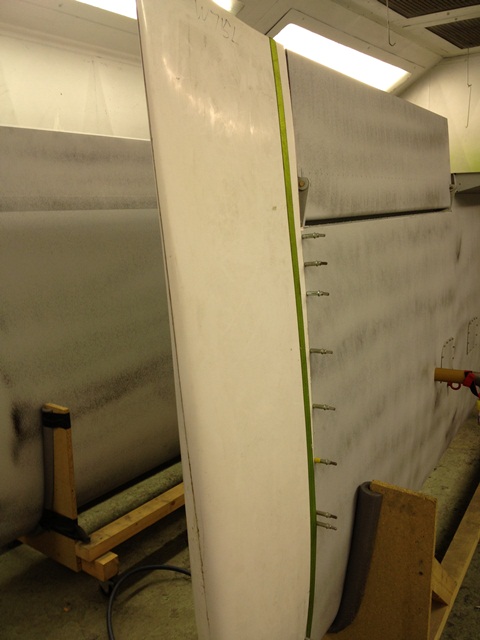
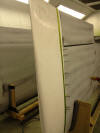
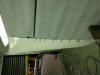
The
first cuts were reasonably easy using snips and hack saw as
required. The first critical step is to get the leading edge
and sides back to the elevator as snug as possible. Measure
the width of the over hanging skin to the wing rib and mark that
wing tip with the same distance and chop away.
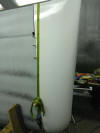
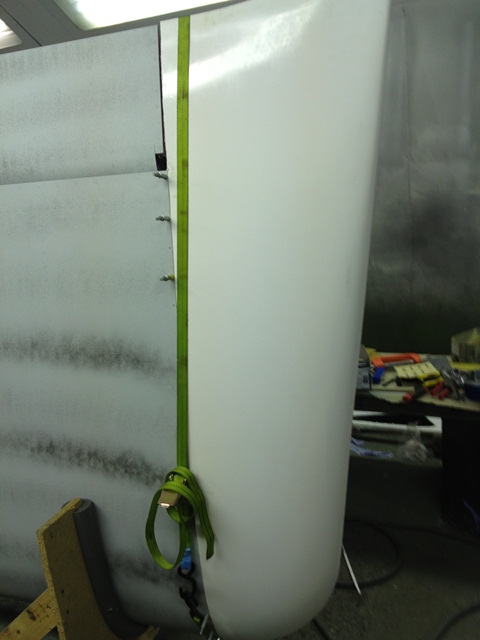
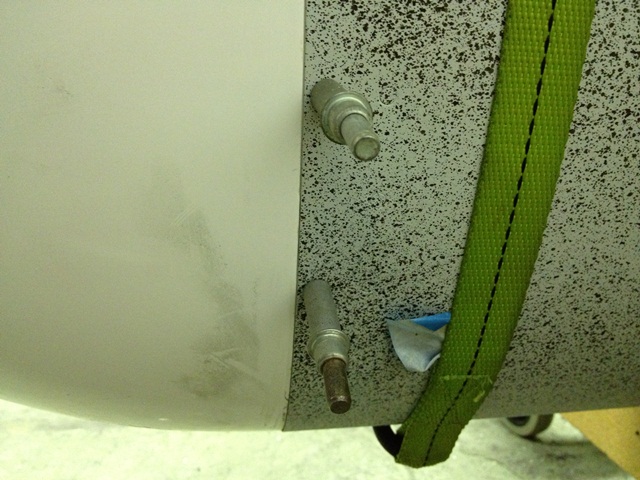
We
used a tightening strap to make sure the tips were well pressed
home and took out any slack so that the edges fit snug to the
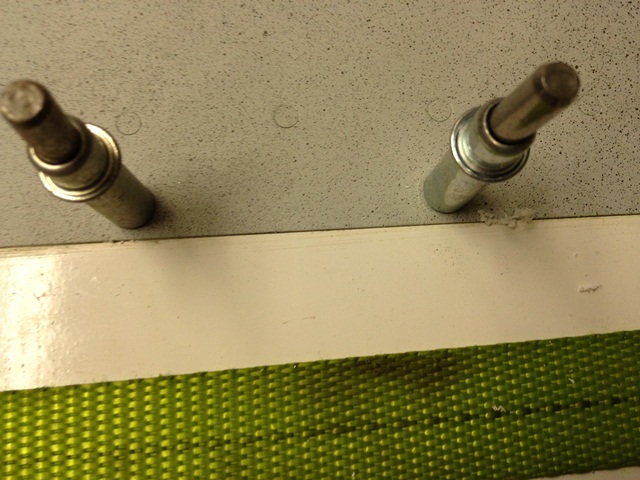
skin. Drilled the holes to #30 for the time being and
secured them in position. (make sure the strap tightens on the
wing end rib and not on the pod !
Quite
chuffed with the fit
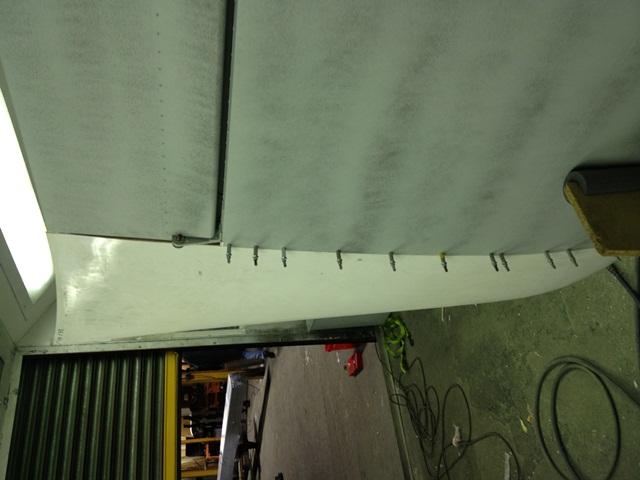
Then
it gets a bit fiddly cutting away to make sure there is a 1/4" gap
between the pods and the elevator and elevator mechanism.
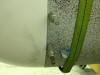
Some
sanding with 40 grit was required to get the trailing edges to
match up. It maybe required to add some strengthening into
the trailing edge near the pod ribs to strengthen it back up.
Do some research when you are
this stage, as a number of people are reporting cracks in the gel
coat on the wing tips after 200-300 hours including aeros.
There is a good article by Darwin Barrie on VAF that talks about
strengthening using dowel rods.
http://www.vansairforce.net/articles.htm
Here is the article on RV-7 wing tip cracking.
Some get it some don't by the sound of it.
Gel Coat Cracking
A little way into the thread there is also mention from Dan Horton
who has used two-part expanding urethane foam into the tail end of
the
tip
cavity. Which is exactly what we were going to do and
spent some time setting up. We rejected the idea in the end
and we might be glad we did as Dan found after a while noticed the
surface had developed a bunch of crazy lumps and waves in the area
over the foam core.
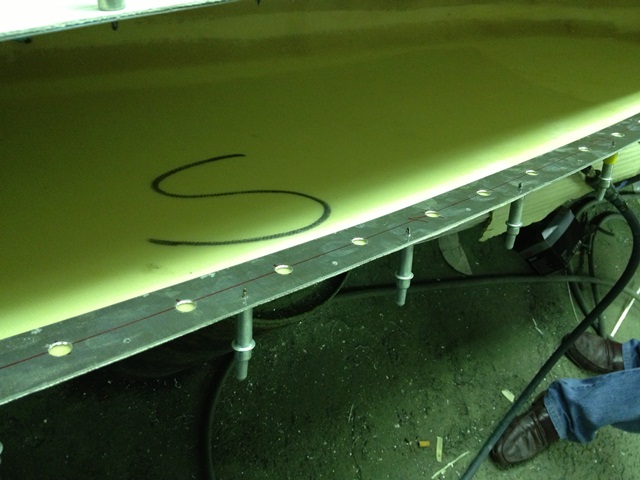
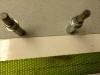
To strengthen the
rivet points vans plans call for a narrow bit of aluminium bonded
to the inside. I have used much wider aluminium to give more
support. The large holes are to allow the epoxy through and
create a stronger bond.

At this stage I am considering adding the dowels as
per Darwin's process to the inside of the pods to protect them
from pillowing in flight and hopefully stop any gel cracks.